Quantag Cloud
Quantag Cloud is a network of GPU-accelerated servers for quantum simulations. It can be accessed using VS Code or online.
To use it specify the following section in config.json in root of workplace folder
"submit": {
  "provider": "cloud",
  "node": "auto",
  "shots": 1024
}
In such configuration node will be chosen automatically.
Nodes
List of currently available nodes can be seen online https://cloud.quantag-it.com/nodes or in VS Code - Command Palette “Quantag Studio: View Nodes”.
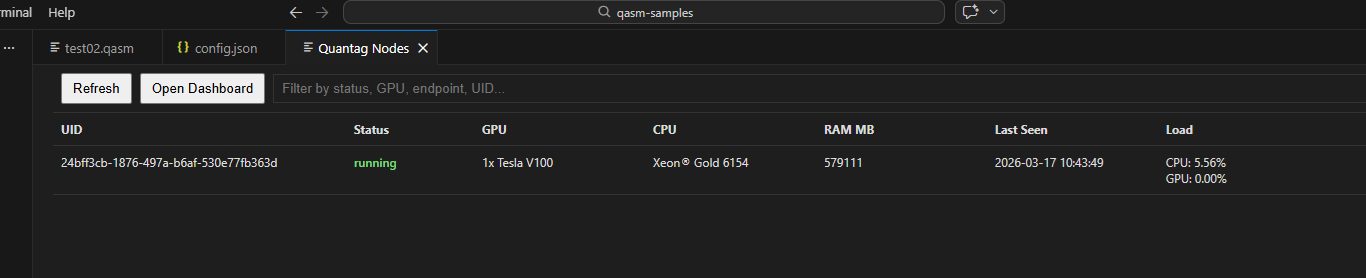
In field ‘node’ user can specify UID of exact node from this list.
Limitation
Currently only OpenQASM 2 source is supported!
Some samples available at https://quantag-it.com/pub/qasm/
Balance
Running jobs on GPU accelerated nodes requires non empty user balance. It can be filled up online using credit card at https://cloud.quantag-it.com/profile
Quickstart step-by-step guide
Install OpenQasm Debugger VS Code extension https://marketplace.visualstudio.com/items?itemName=QuantagITSolutionsGmbH.openqasm-debug
Login with Google Account at https://cloud.quantag-it.com/profile
Generate API key and copy to config.json file in your working folder in VS Code.
Open OpenQASM 2 source file in your working folder.
Choose Submit Circuit in Launch menu.
6. Check Job status in “Quantag Jobs” panel. It will be opened automatically after Job submit, or you can open it anytime using command palette “Quantag Studio: View Jobs”. Refresh it to see actual state
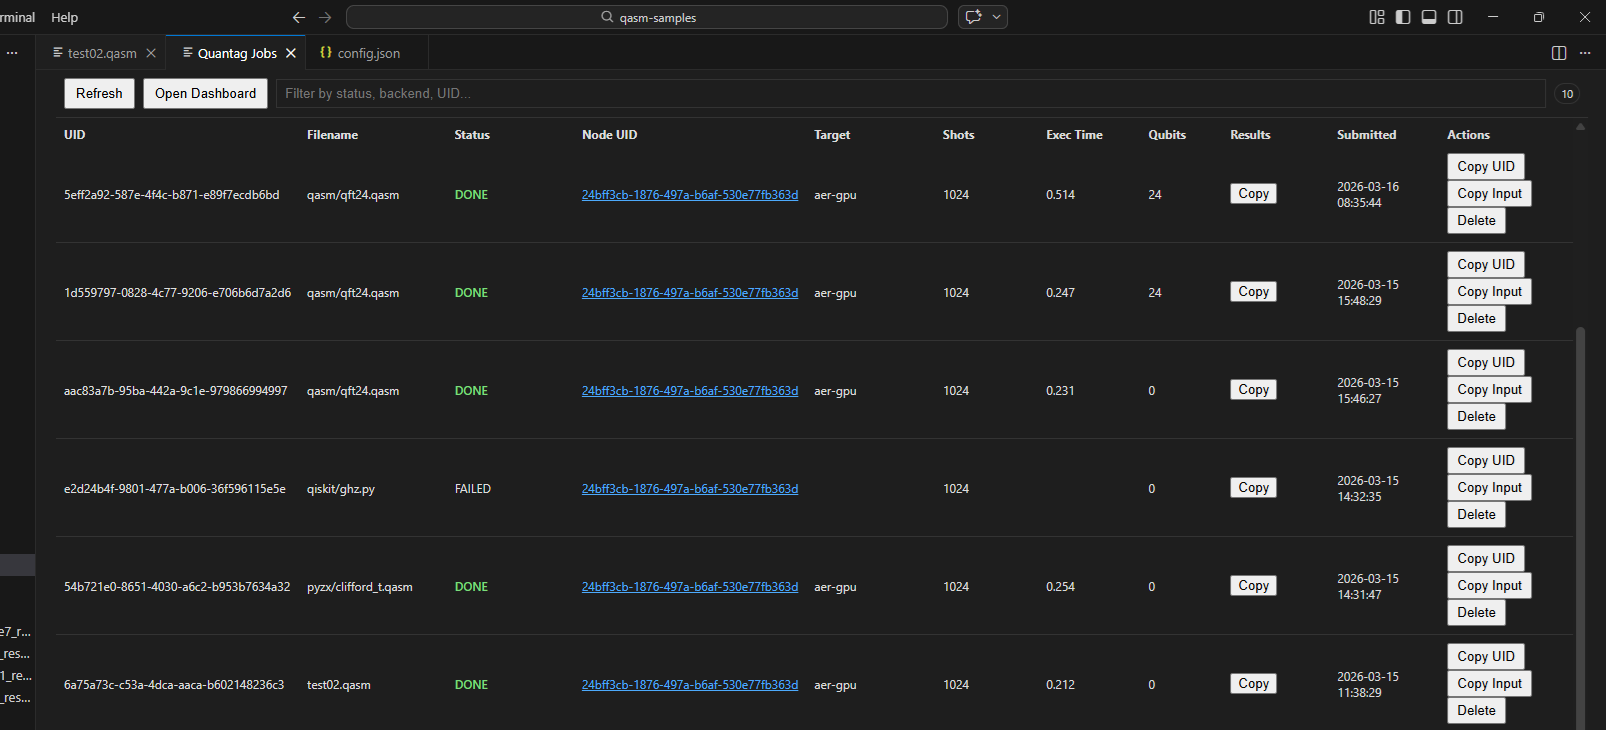
After the job completes press “Copy” in column Results to copy JSON to buffer. Press Ctrl+V in new created file to see them.
Top up your balance at https://cloud.quantag-it.com/profile
If there are currently no active nodes, or in case of problems or questions contact us at support@quantag-it.com